
Identifying Starting System Issues
Starting system issues can be frustrating, but with the right approach, you can diagnose and resolve them effectively. Here’s a step-by-step guide to help you identify and troubleshoot common starting system problems:
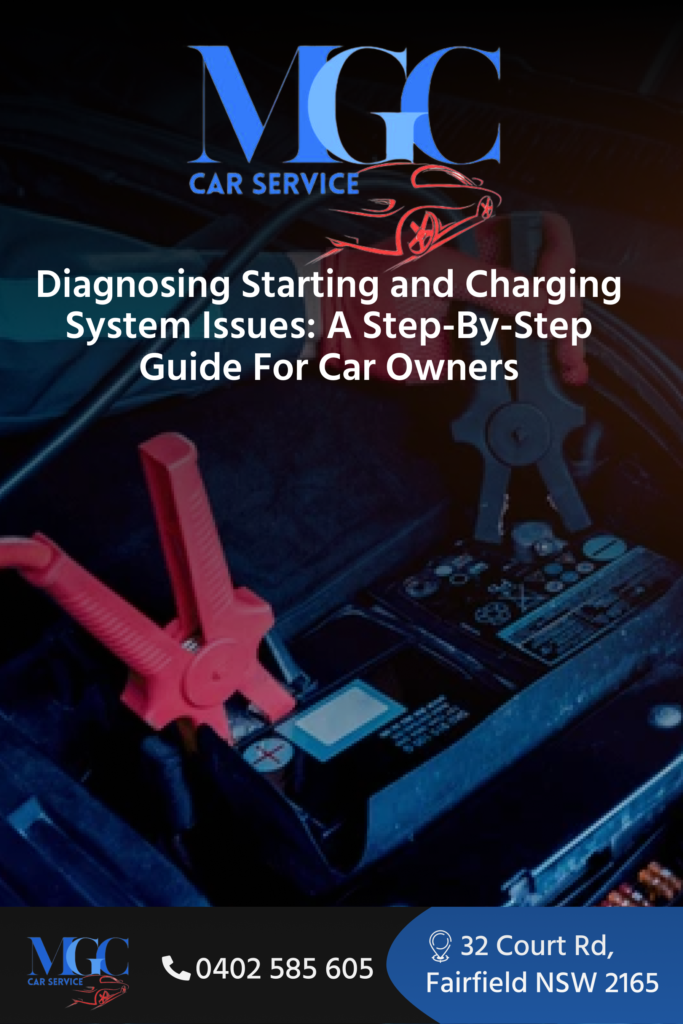
- Check the Battery: Start by checking the battery terminals for corrosion and ensuring they are tightly connected. Use a multimeter to test the battery voltage; it should be around 12.6 volts when the engine is off.
- Inspect the Starter Motor: If the battery is in good condition, the next step is to check the starter motor. Listen for any unusual noises when you try to start the engine, as this could indicate a faulty starter motor.
- Test the Starter Solenoid: The starter solenoid is responsible for engaging the starter motor. Use a multimeter to test the solenoid’s resistance and ensure it is within the manufacturer’s specifications.
- Check the Ignition Switch: The ignition switch sends a signal to the starter solenoid to engage the starter motor. If the ignition switch is faulty, the starter motor may not receive the signal to start the engine.
- Inspect the Starter Relay: The starter relay is another component that can fail and prevent the starter motor from engaging. Test the relay using a multimeter to ensure it is working correctly.
- Verify the Alternator: The alternator charges the battery while the engine is running. If the alternator is faulty, it may not charge the battery properly, leading to starting issues. Use a multimeter to test the alternator output voltage.
By following these steps, you can diagnose and resolve starting system issues, ensuring your car starts reliably every time. If you’re unsure or need assistance, don’t hesitate to contact us at MGC Car Service for expert help.


